
To build and customize WPFreelance Theme, you can either start from scratch or make use of provided sample data. While the former would cost you substantial amount of time, choosing the latter method will provide you with a page like the one in demo and save you more time for customization.
In this tutorial, we will show you how to create a site like demo and further customize it.
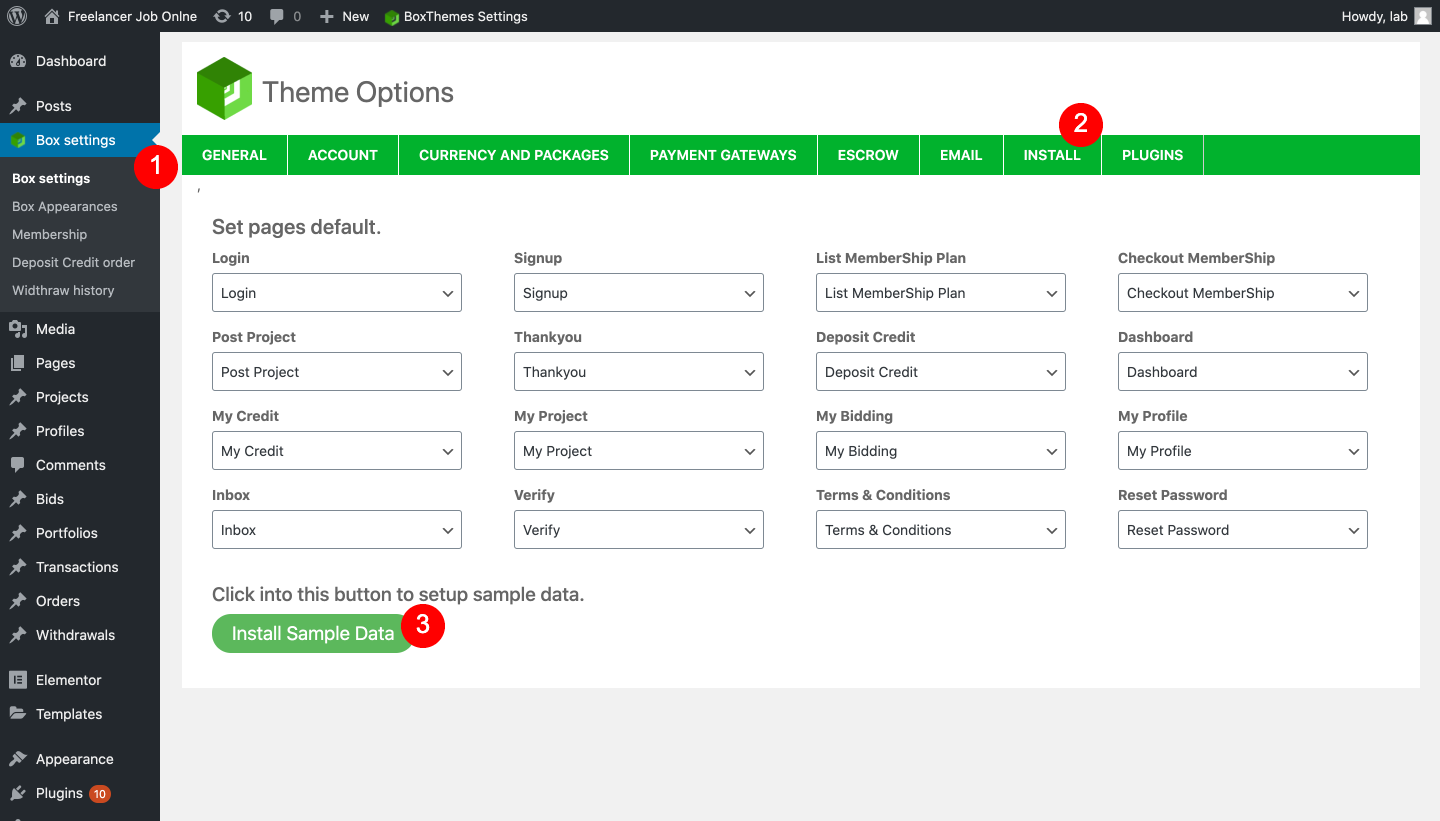
First of all, you need to install sample data by going to Admin Dashboard, choosing Box Settings > Install, and clicking on Install Sample Data button. Wait for around 3-5 seconds and you’ll get the message saying data was imported.
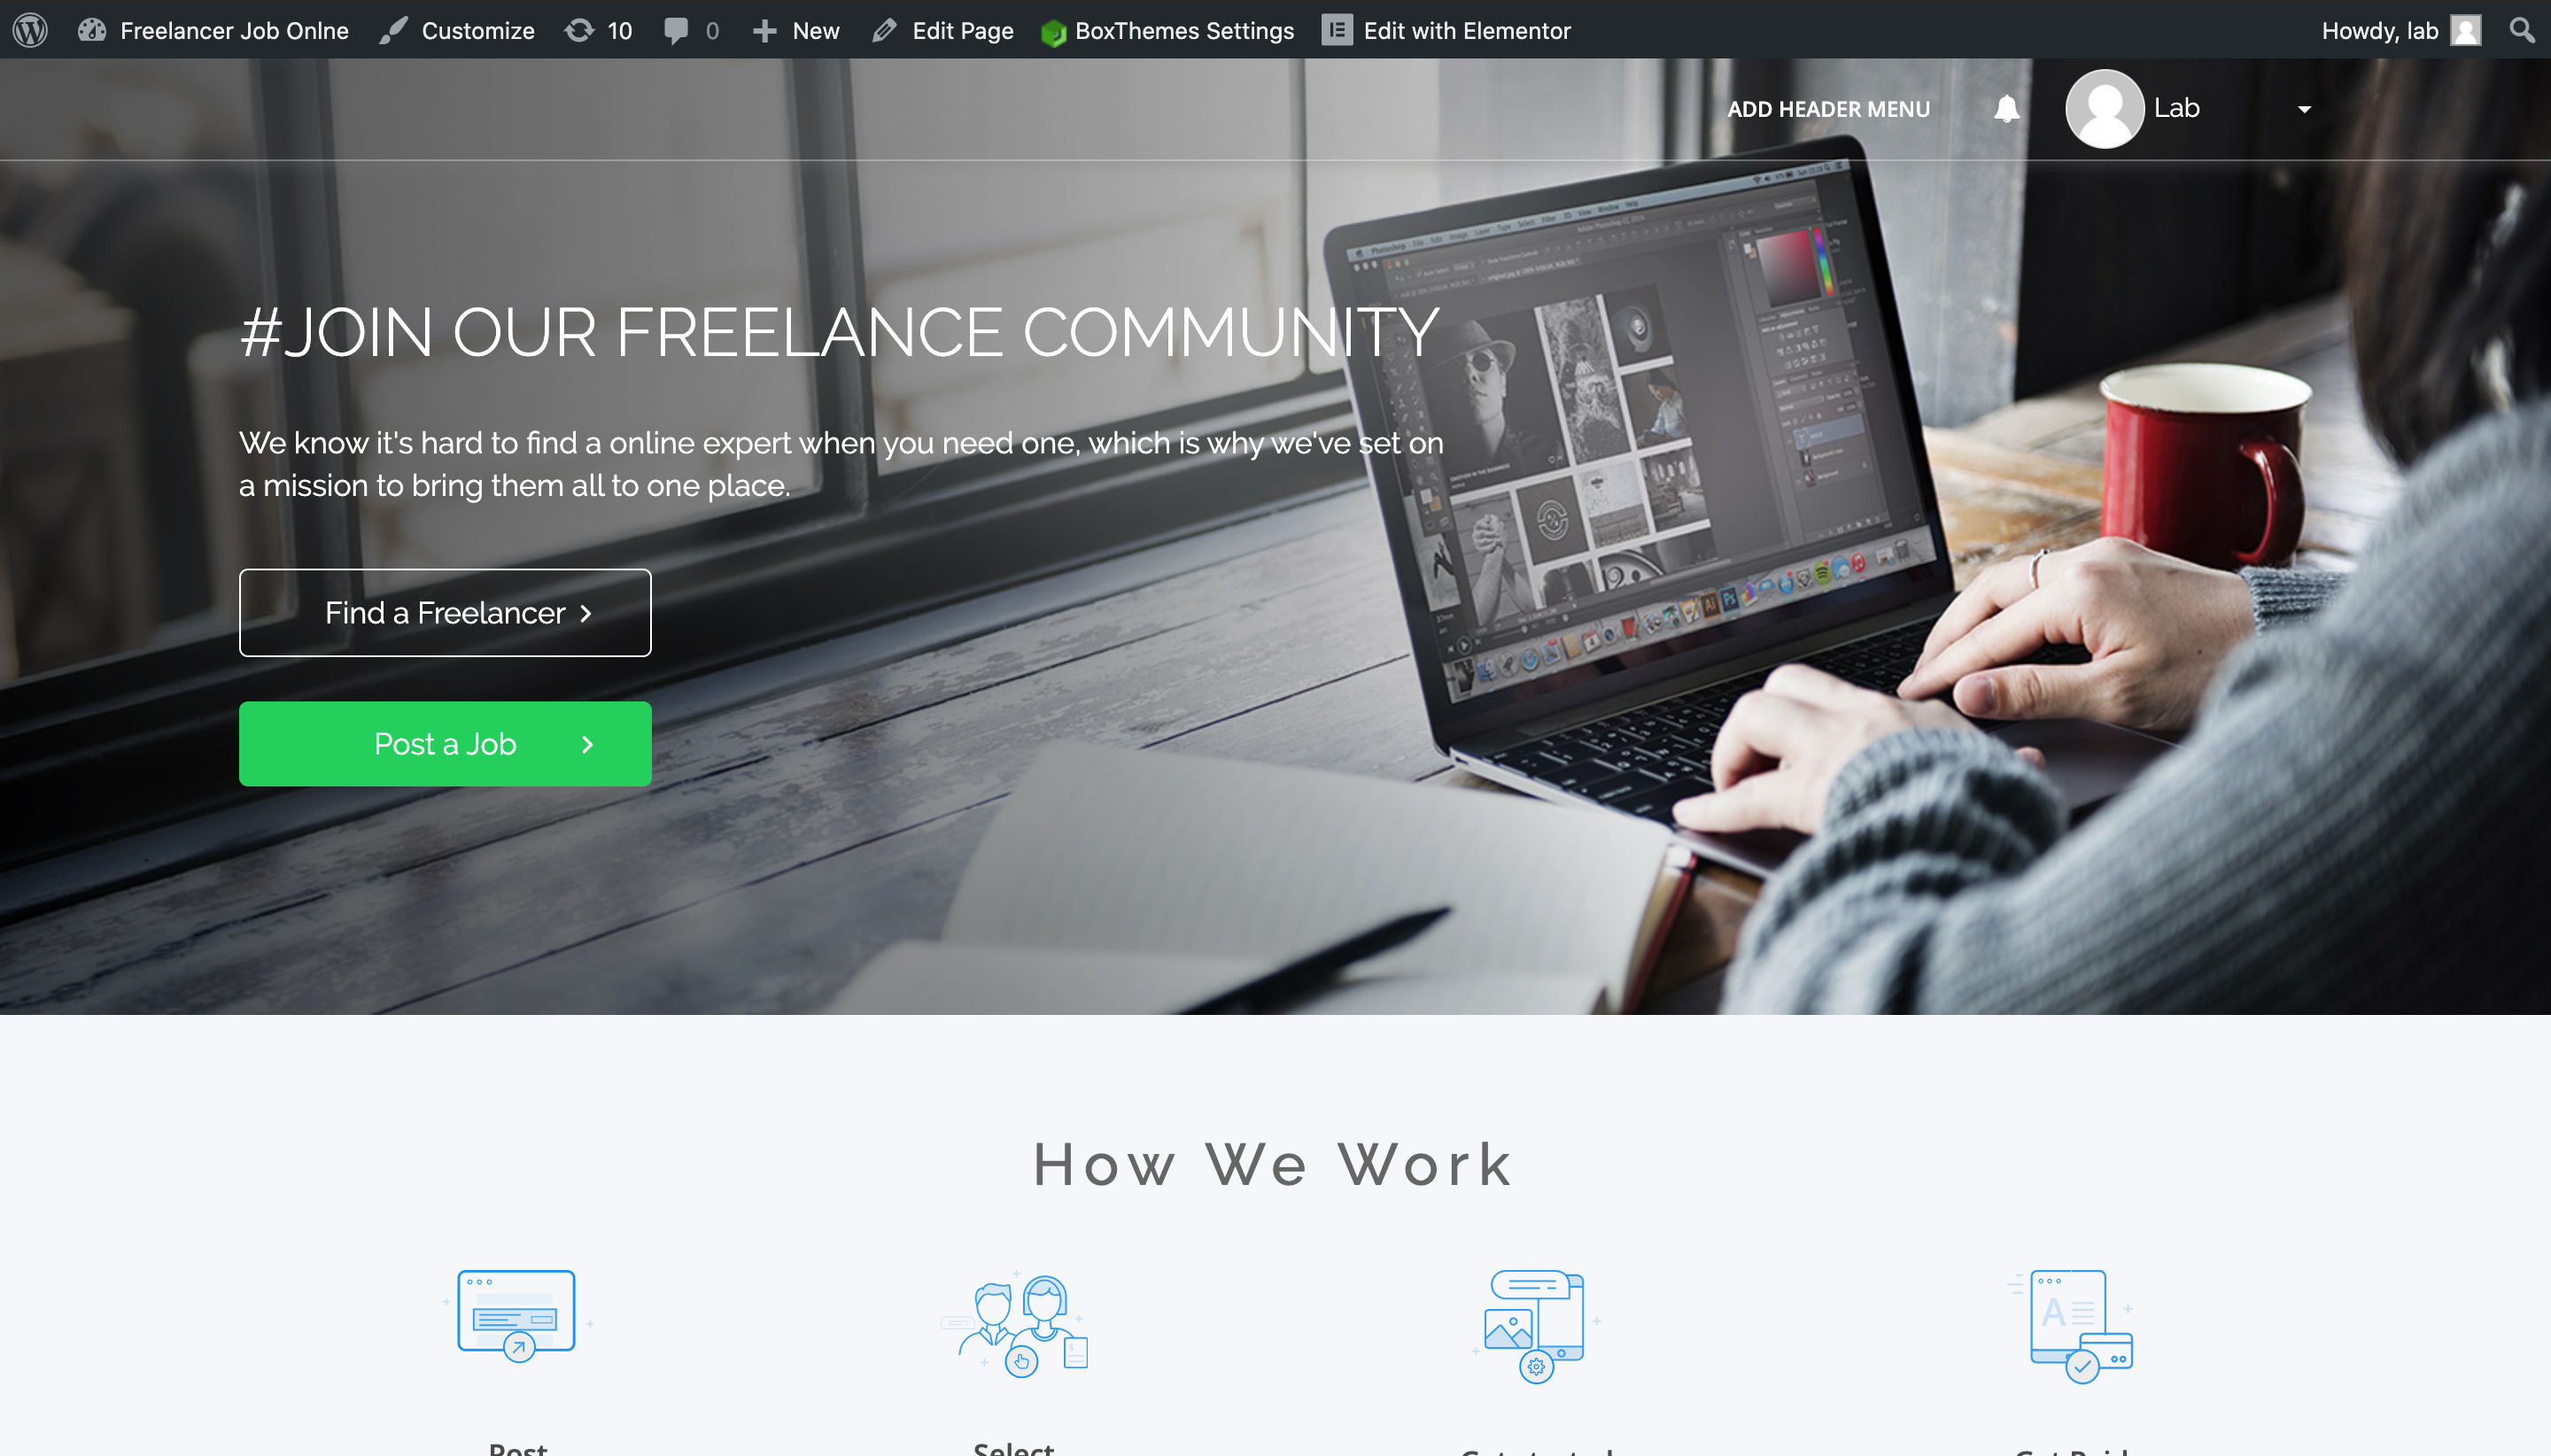
Now open your site homepage, it should look like this:
Next, to customize WPFreelance Theme, both the Elementor Page Builder and the Customize function of WordPress will be used.
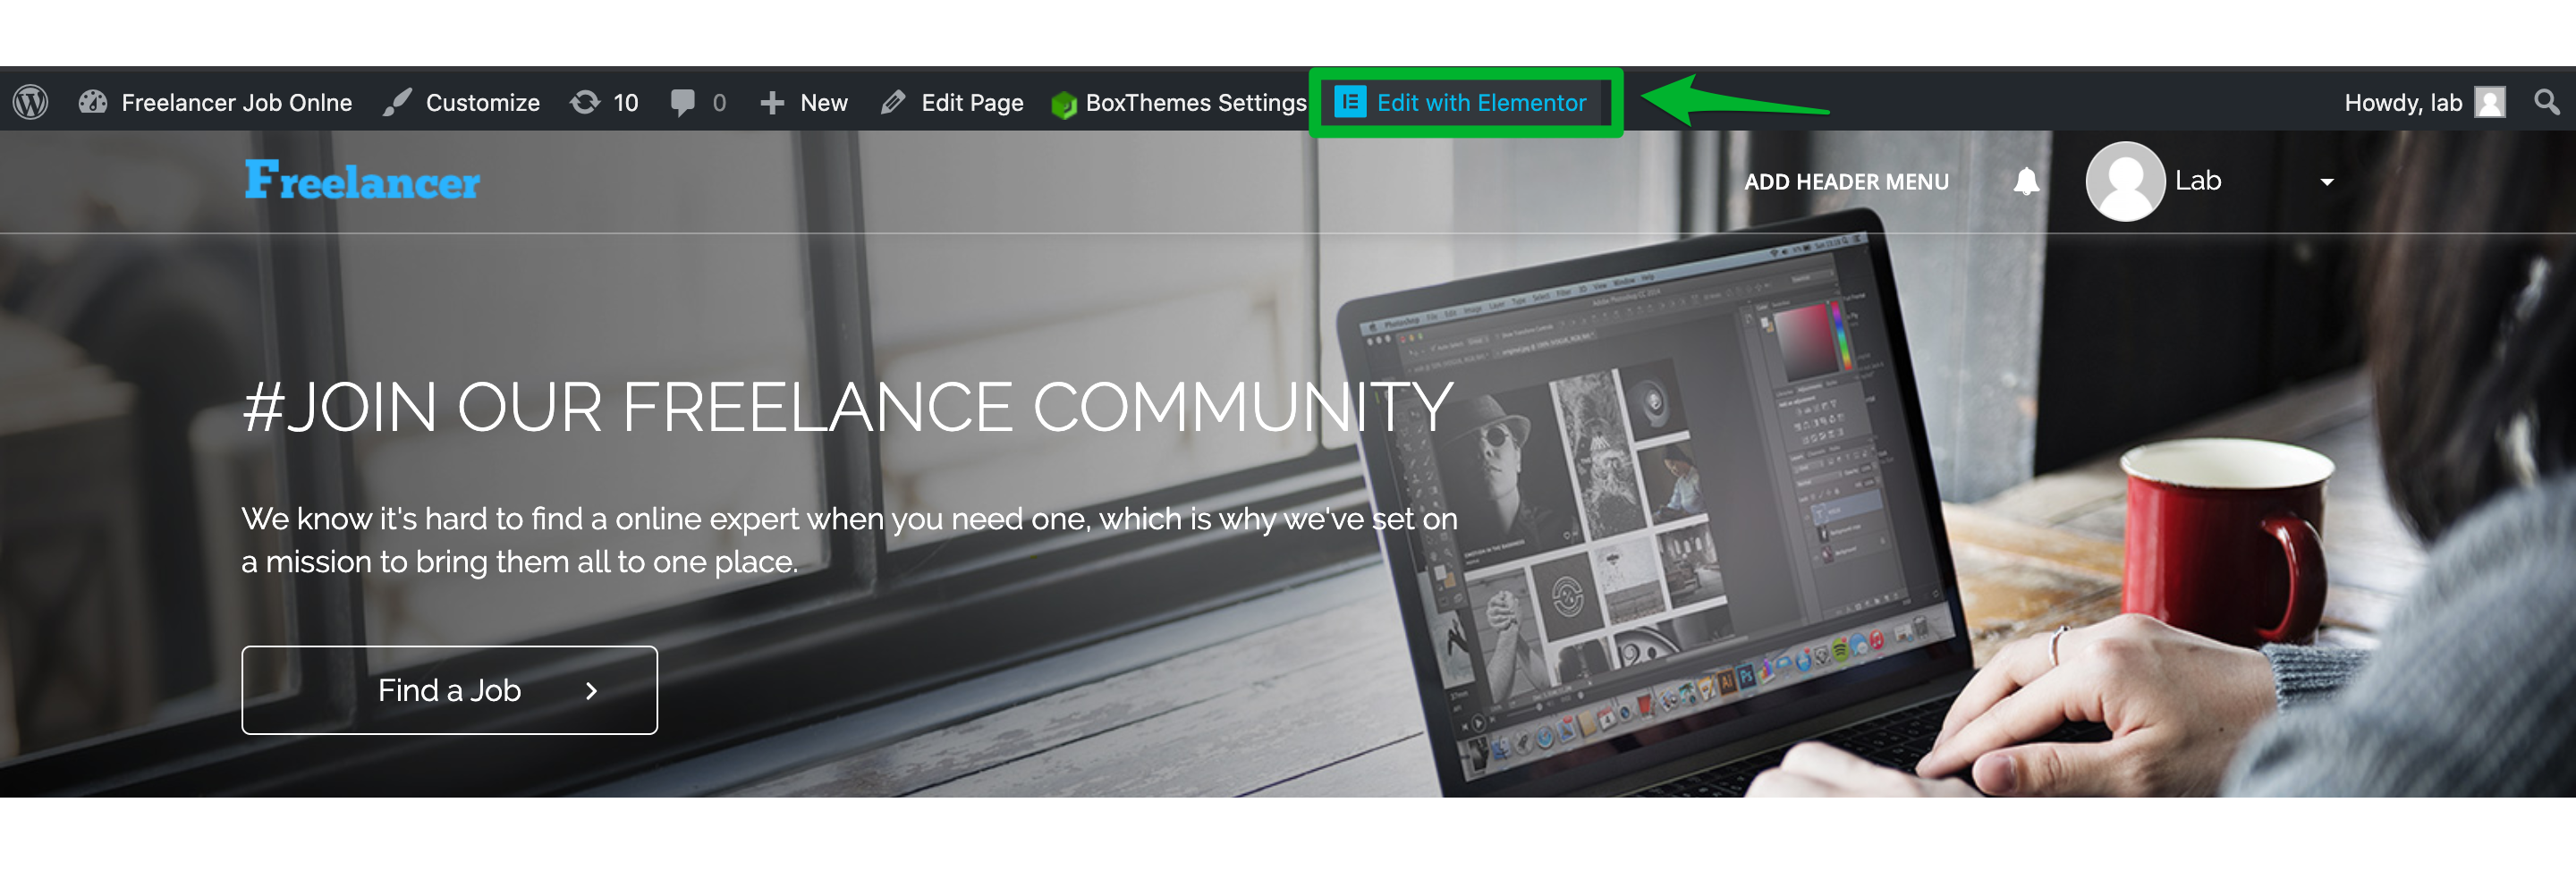
Elementor Page Builder is an efficient tool that helps you edit, add or remove any section on page. To use it, click on Edit with Elementor on the top panel of the page.
Below are some examples of how you can “play” with Elementor to customize WPFreelance Theme to match your brand style.
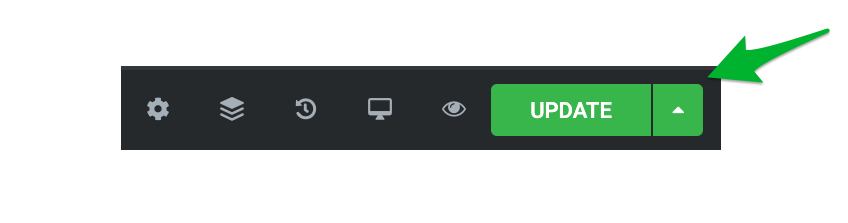
To save your change, simply hit the Update button at the bottom of the left sidebar.
Next, to edit the banner image, go back to the homepage and click on Customize on the top panel of the page. Then choose Banner Image section from the left sidebar.
Main Image: Main image is the big background image in the banner section. You can remove the current image or change to another image.
Set Slogan: This is the headline displayed in the banner.
Banner Text: This is the description below the headline.
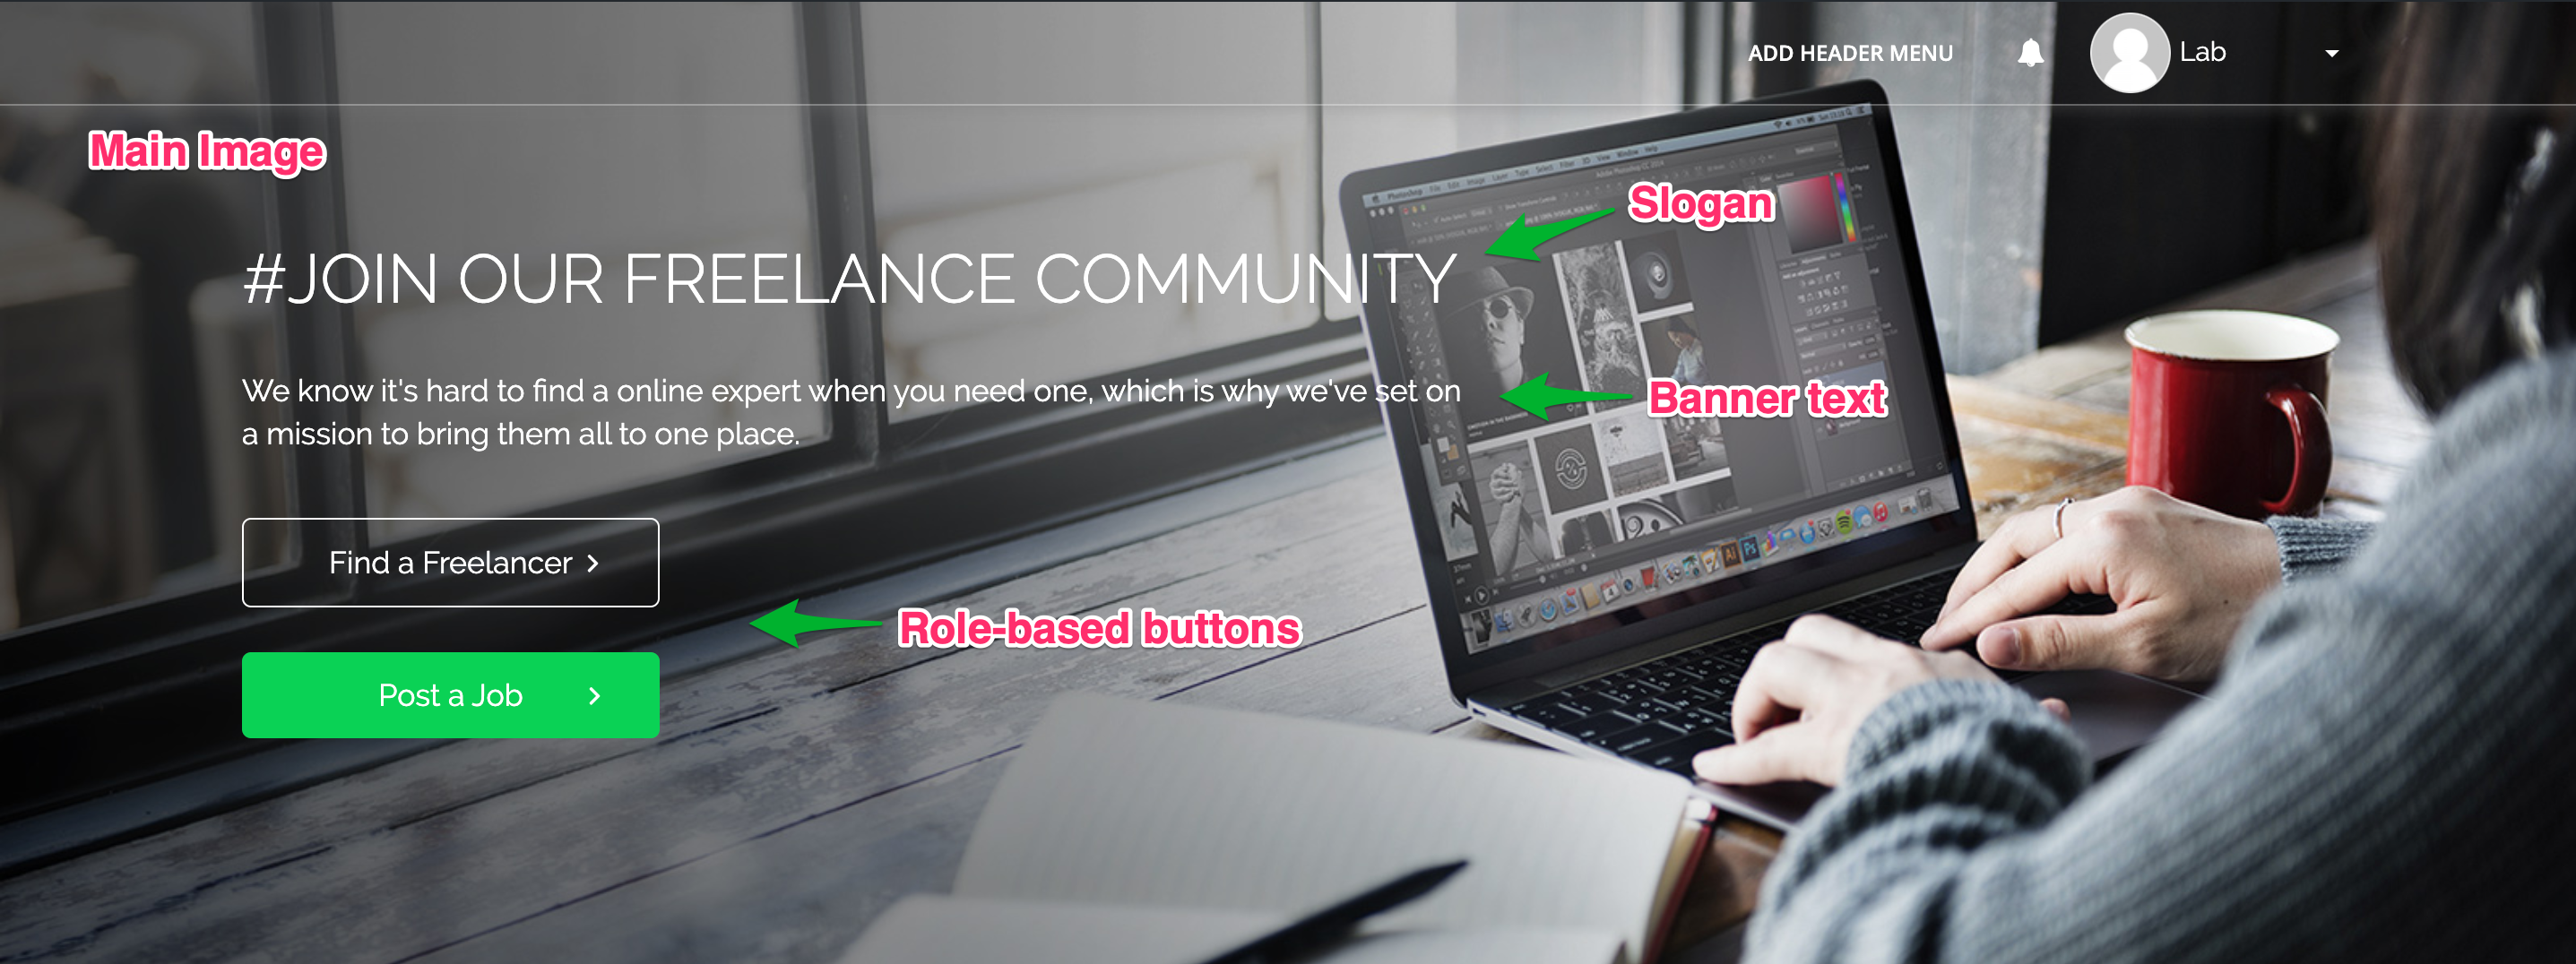
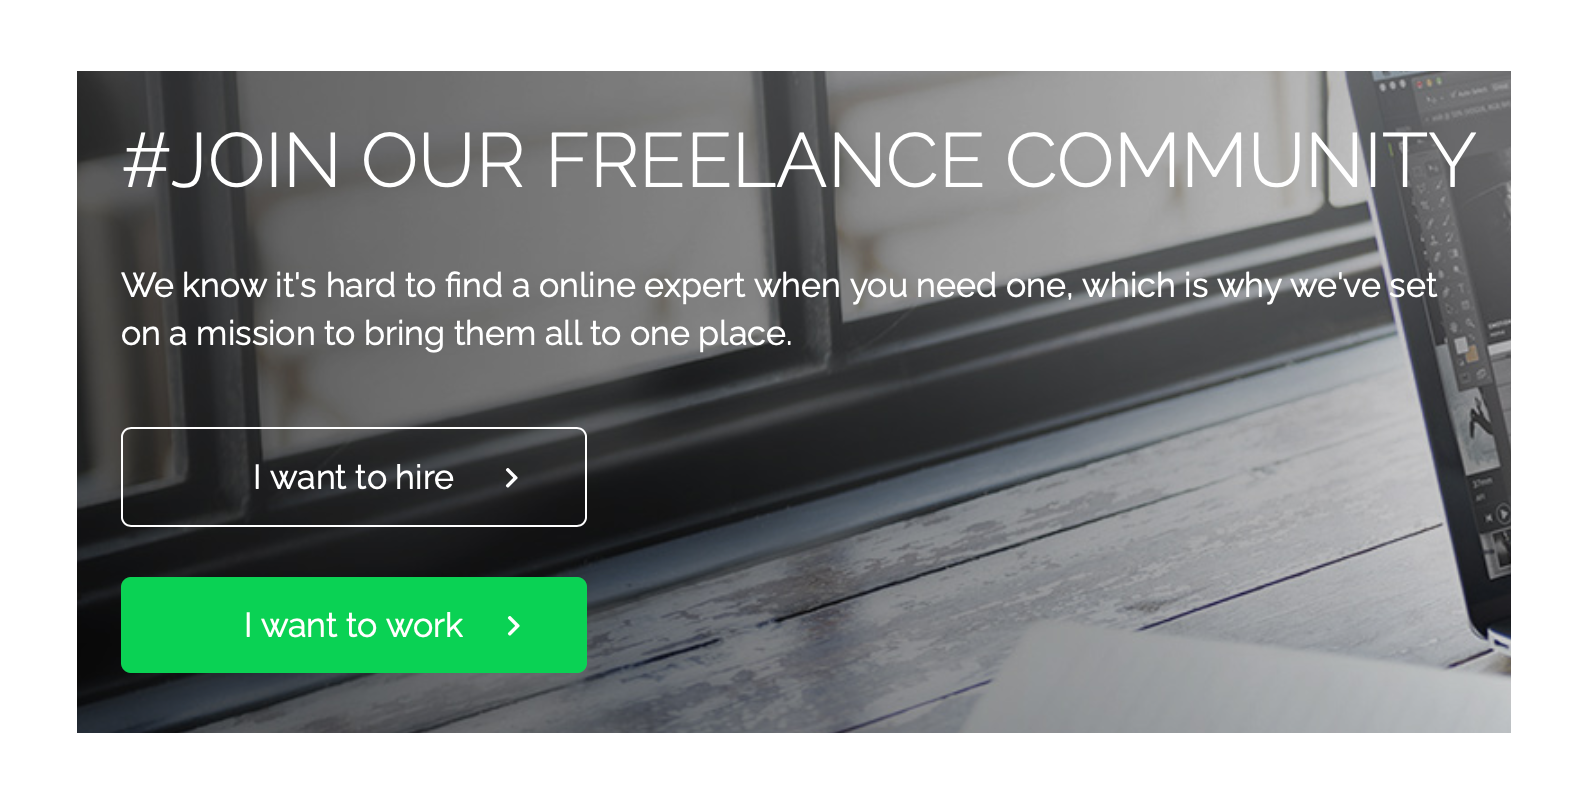
Role-based buttons: The buttons in this banner section will appear depending on users’ role on page.
- If the user is a visitor, I want to hire and I want to work buttons are displayed.
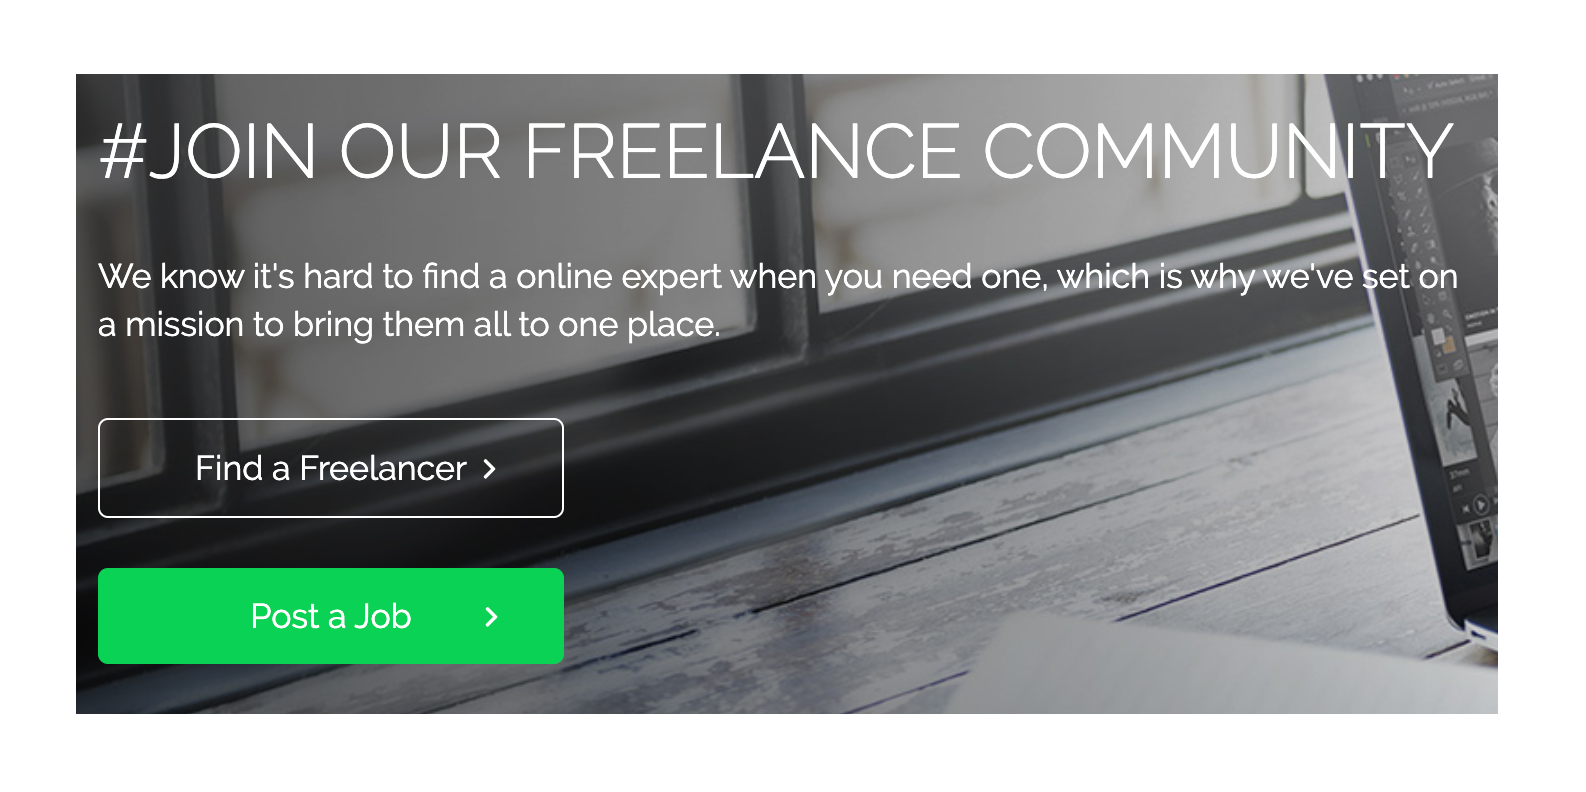
- If the user is an employer, Find a freelancer and Post a job buttons are shown.
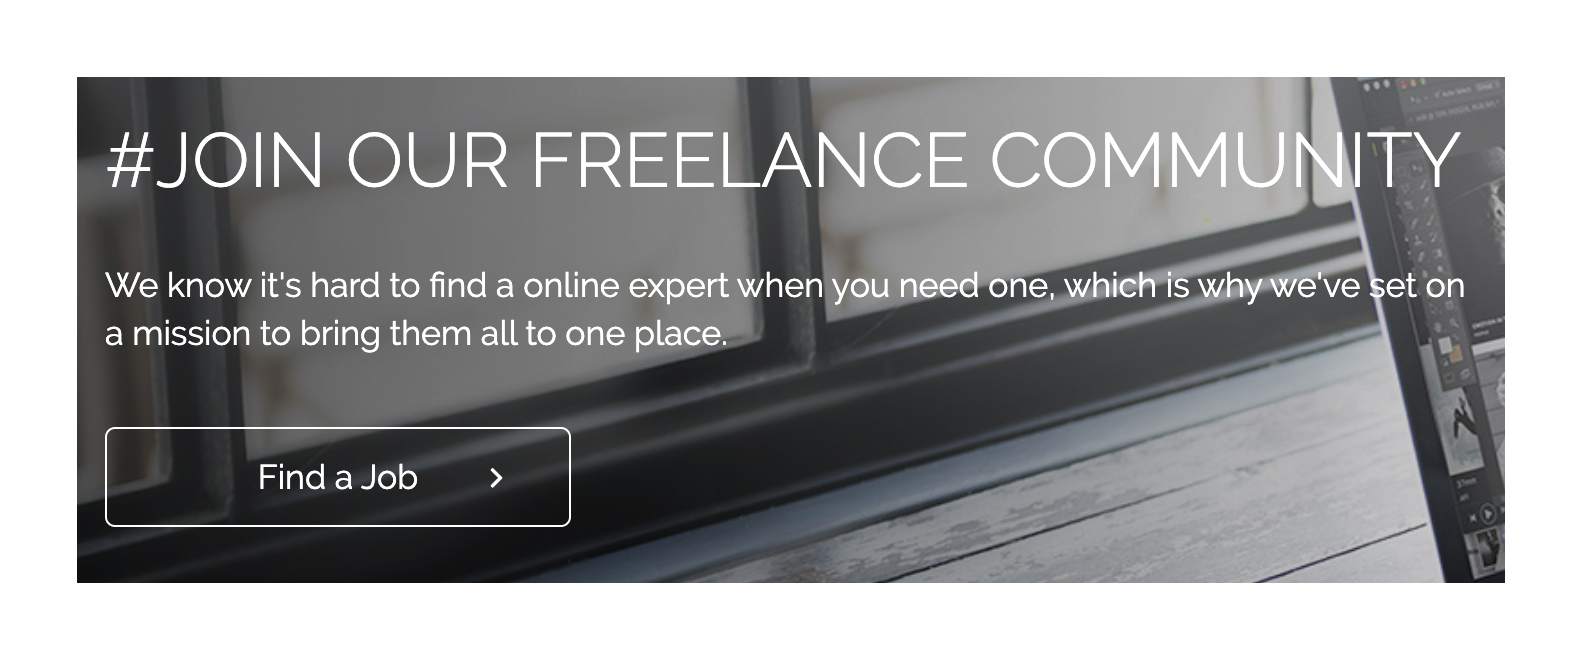
- If the user is a freelancer, Find a job button is featured.
After you’re done with the edit, don’t forget to click on Publish button on top of the left sidebar to save and publish your changes.
Leave A Comment?