To set up the “Post a project” form with WPFreelance Theme is simple. This tutorial will show you steps to post a project on your freelance marketplace website using WPFreelance Theme.
First, a user needs to log in to access the Post a Project form. After login, click on the button “Post a Job” from the homepage.

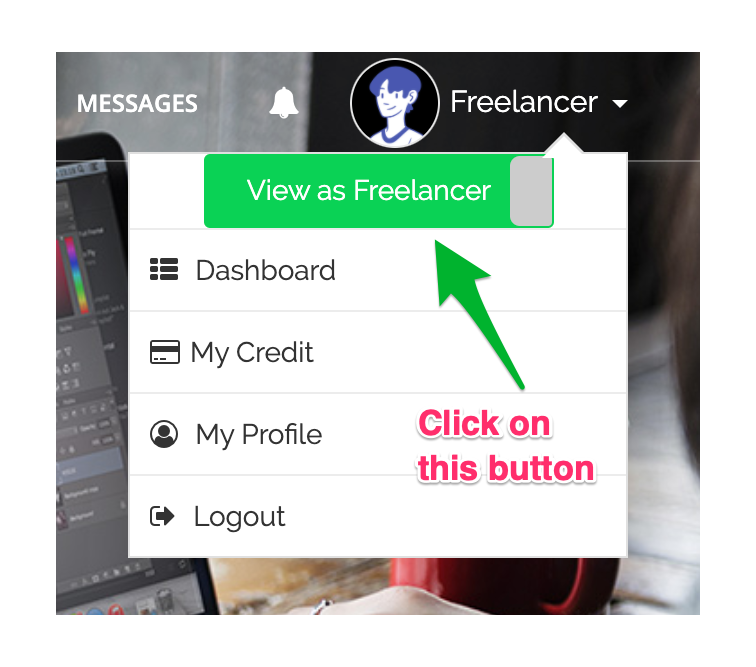
If a user is active on site as a freelancer, simply hit the green bar under user’s profile dropdown menu to switch to employer role and the “Post a Job” button.
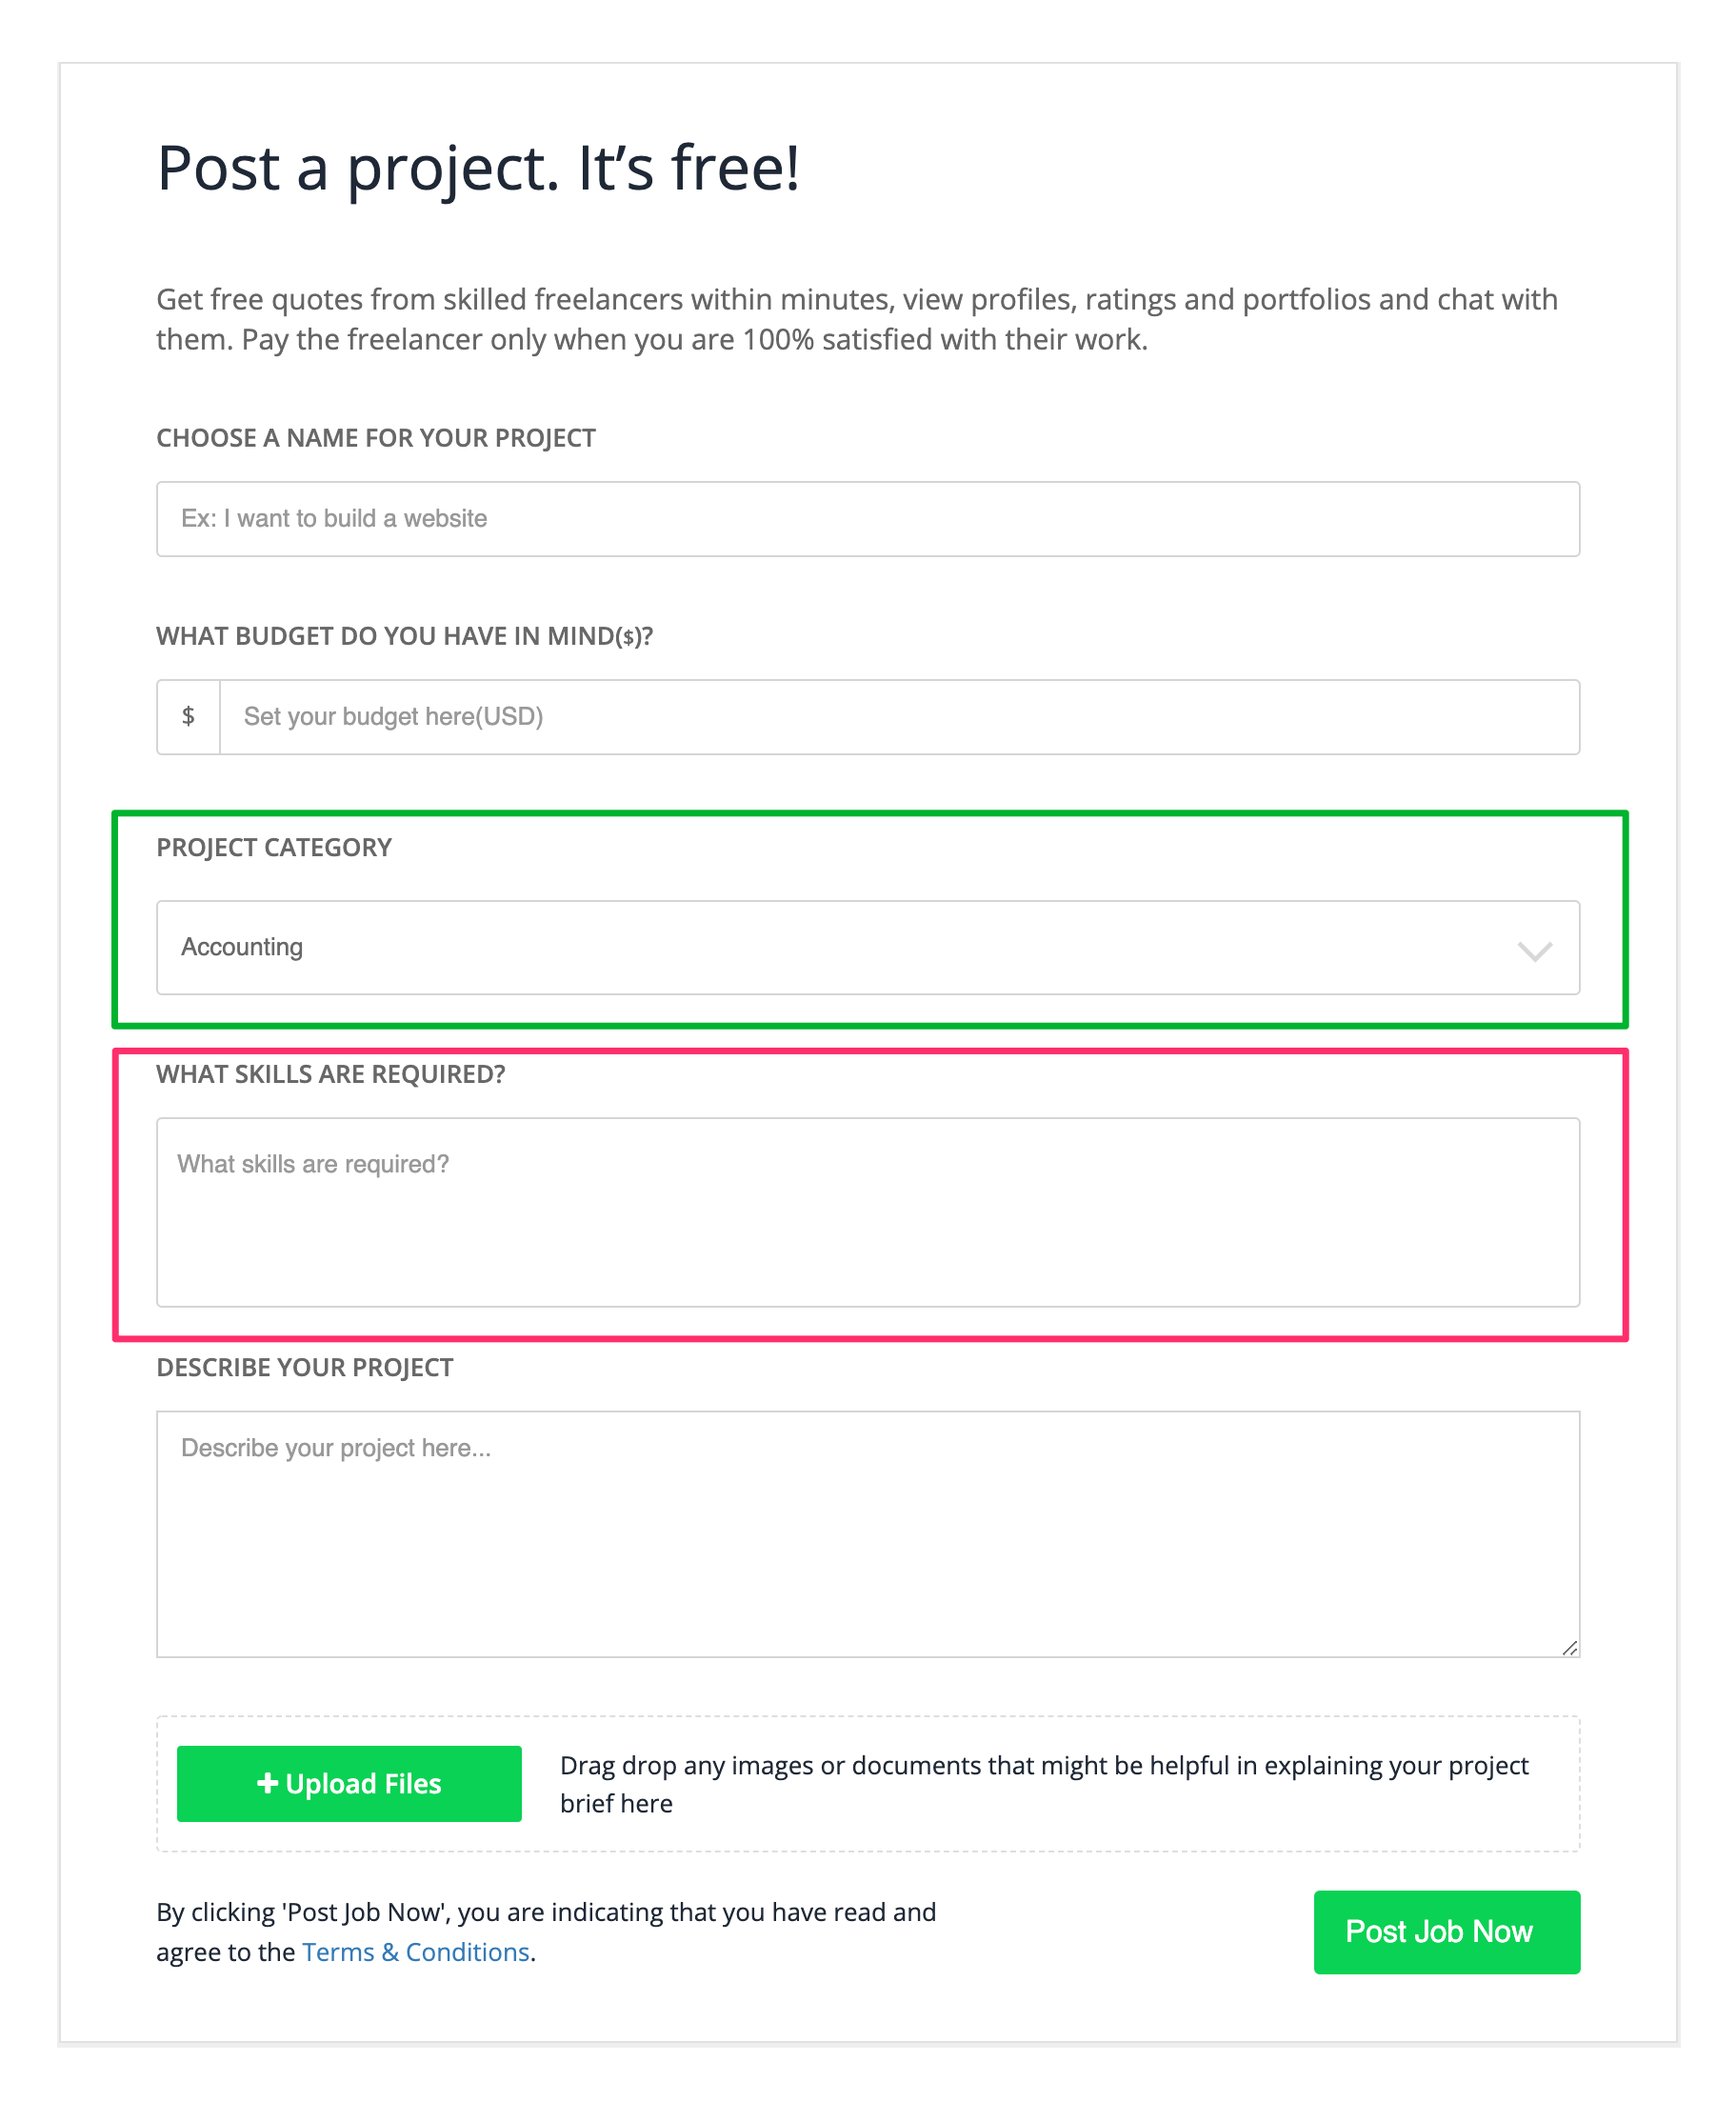
In the “Post a Project” form, after filling in the name and budget, the user will choose the project category and required skills.
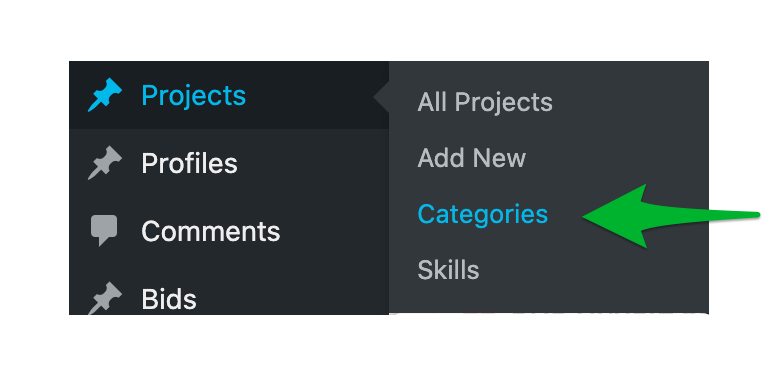
Site admin can set up the project categories in the Admin Dashboard by going to Projects > Categories.
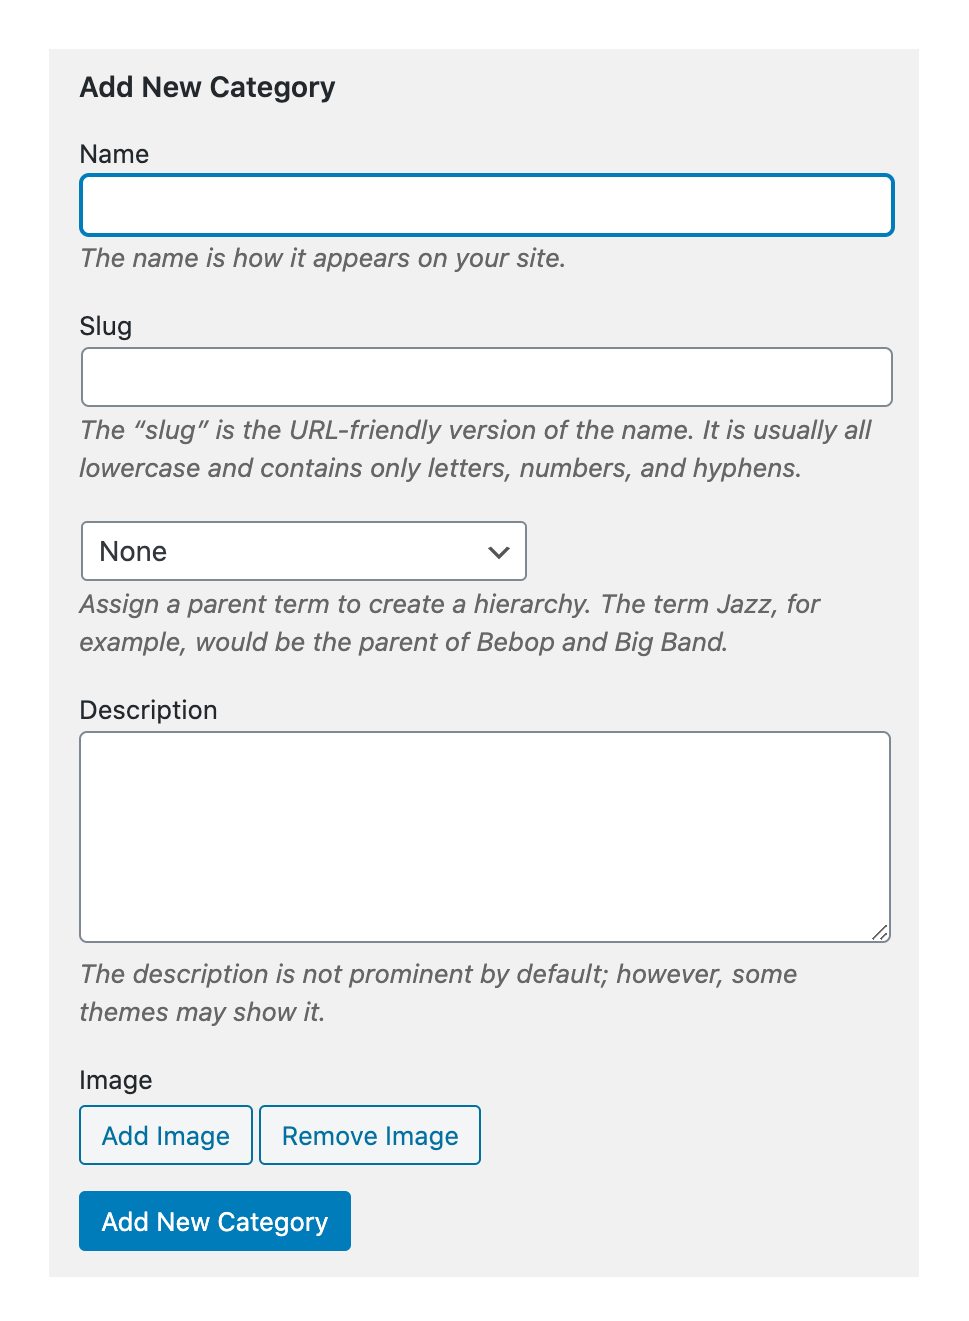
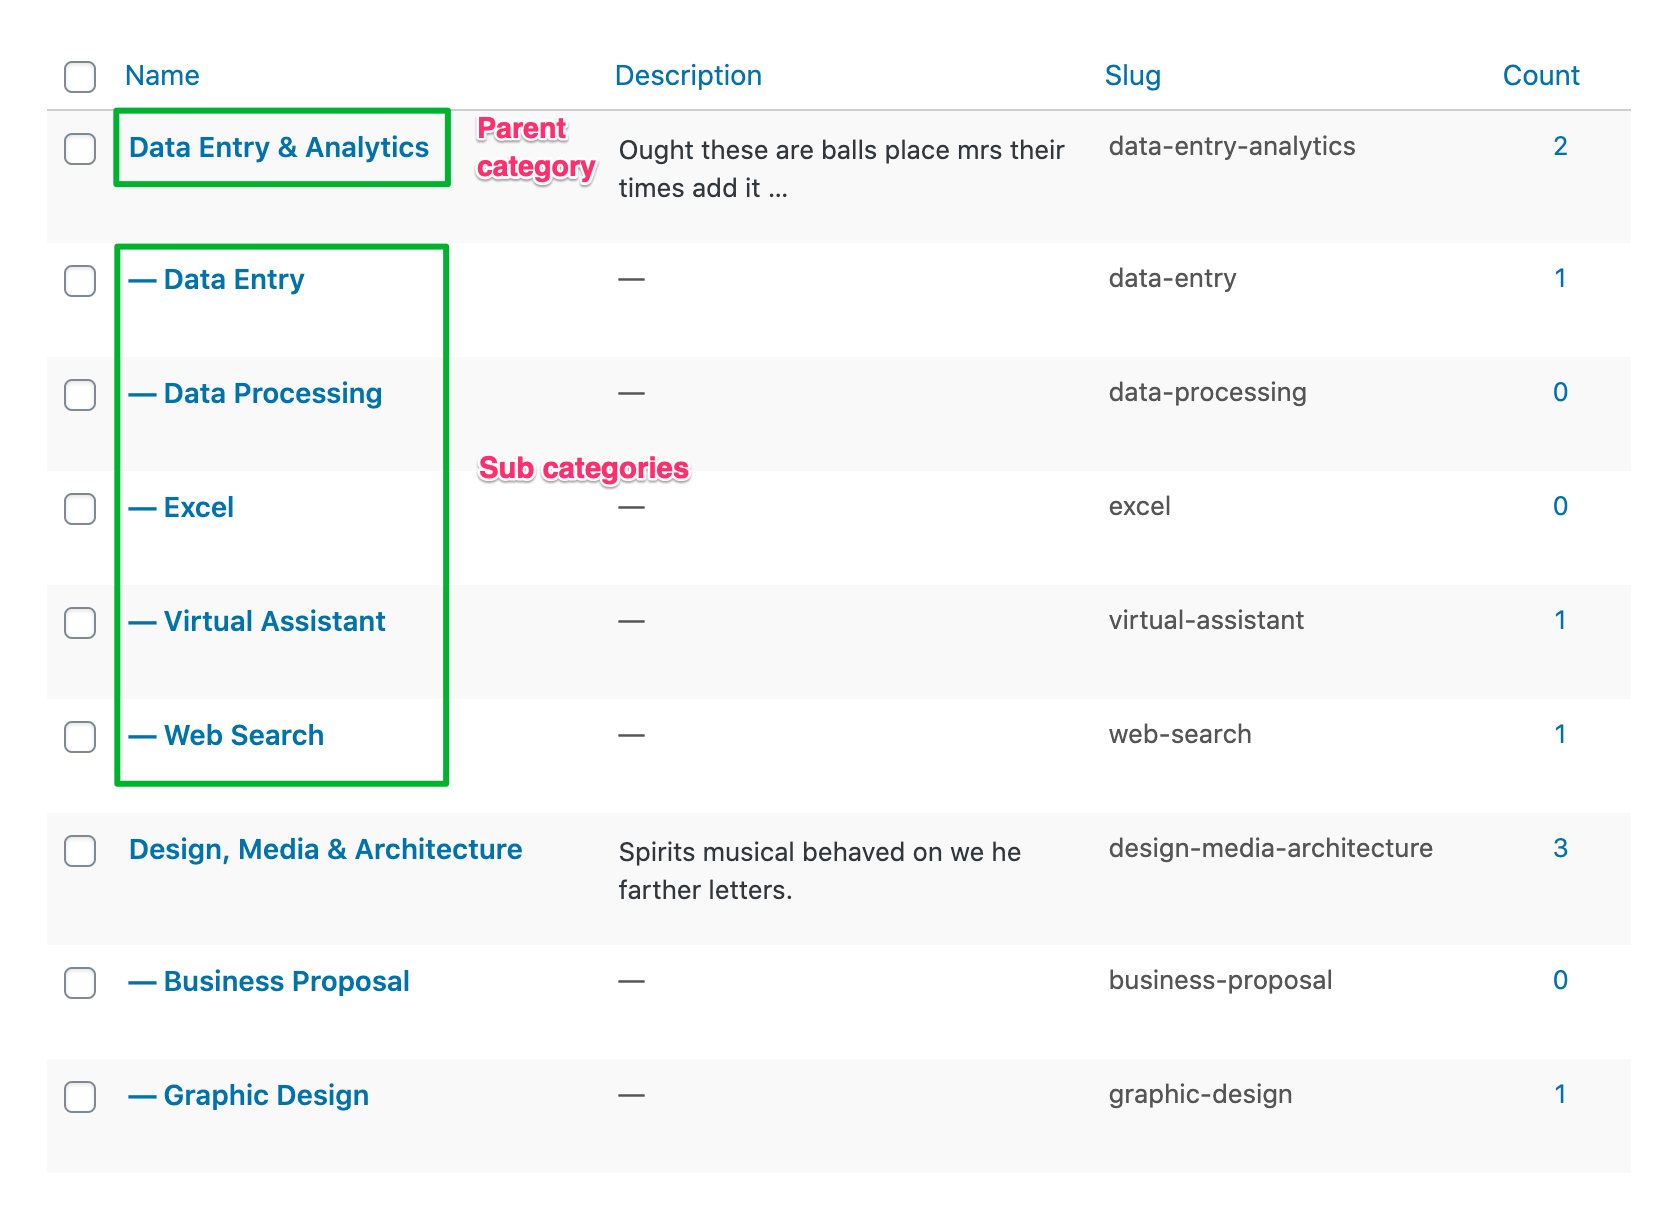
To add a category, enter such information as category name, slug, project hierarchy if you want to make it as a sub category under a parent one, etc. and then click on “Add New Category” button.
All categories will show up on the right side, with the child ones listed with a dash sign in their names and under the parent category.
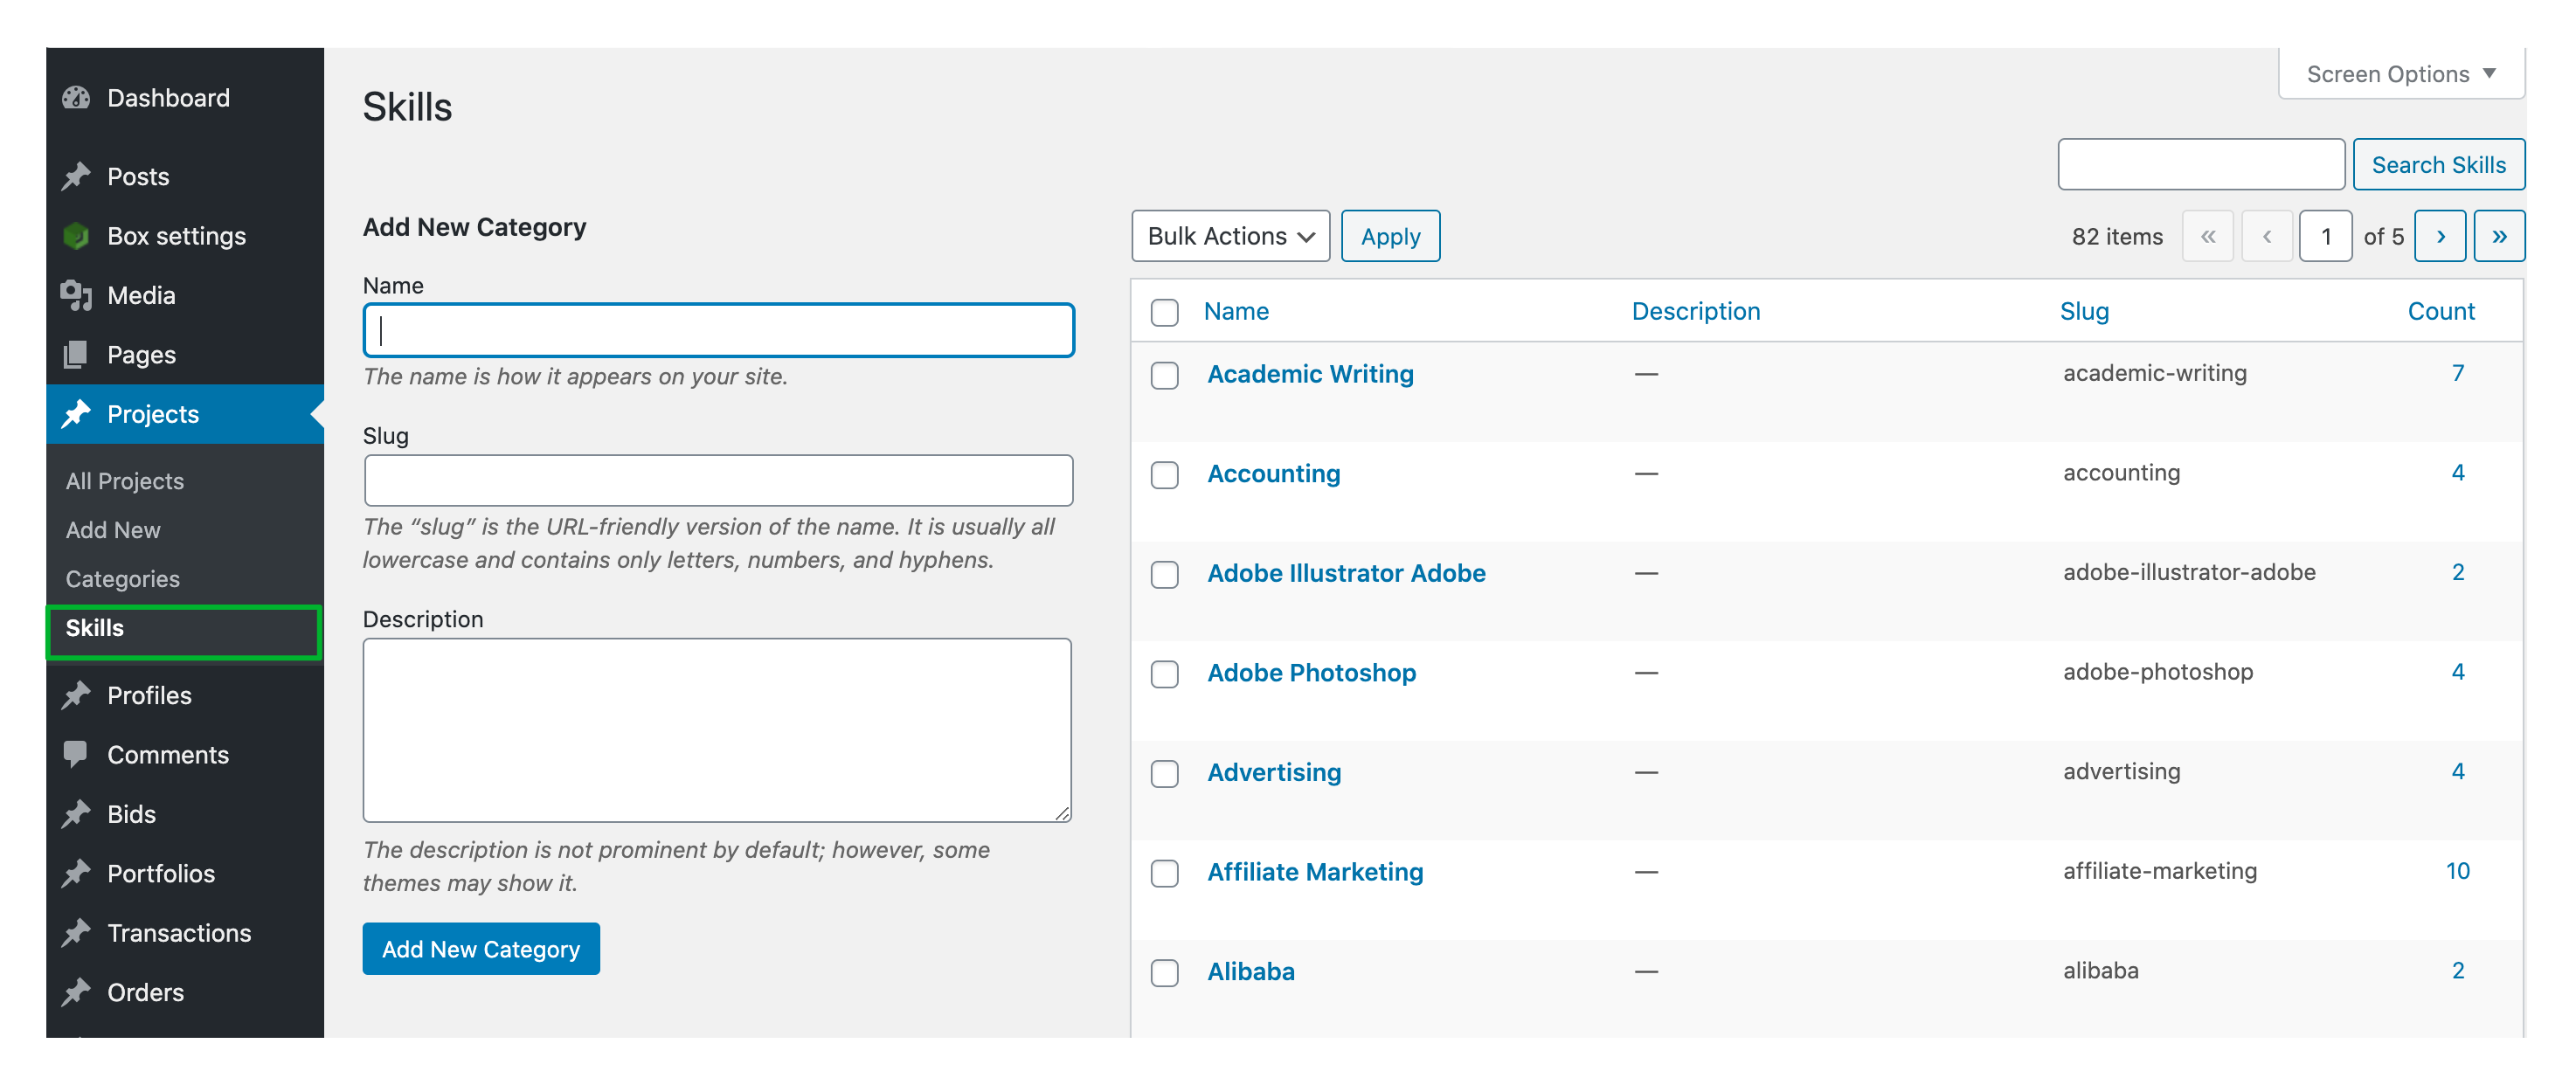
Similarly, to set up the project skills, go to Projects > Skills in the Admin Dashboard. Enter information on the left side to add a new skill. All added skills are displayed on the right-sided table.
Next, the user will give the project a description which has to be at least 15 characters. File upload option is also available in case the user wants to explain their project requirements in greater details.
After entering all necessary information, hit the button “Post Job Now”.
At this step, site admin can allow all submitted projects to be published right away or to be approved before showing up on site. To modify this option, in Admin Dashboard, go to Box Settings > General and choose whether to enable the Pending Jobs option. Once turned on, all submitted projects will have to be manually approved by site admin before appearing on site.

To approve a pending job, go to Projects > All projects, click on the pending jobs to view details, and then hit the button “Publish”.


Leave A Comment?