
Menus in header and footer sections of the website are a great way to help users easily navigate through your site. This tutorial will walk you through main steps to create header and footer menus in WPFreelance Theme.
Create Header Menu in WPFreelance Theme
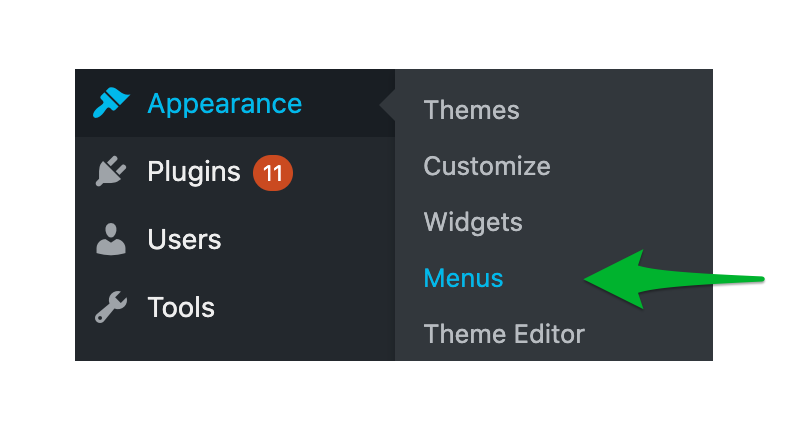
In Admin Dashboard, go to Appearance > Menus.
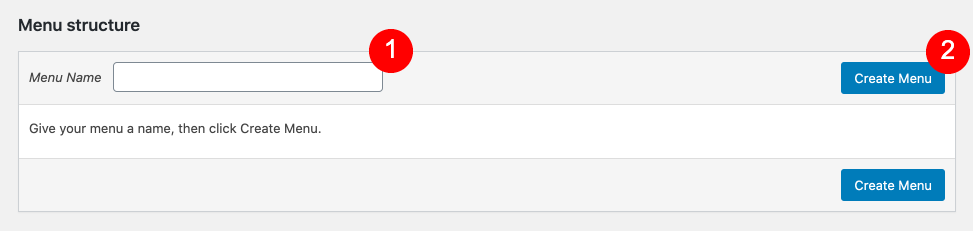
Type in the menu name and click on “Create Menu” button.
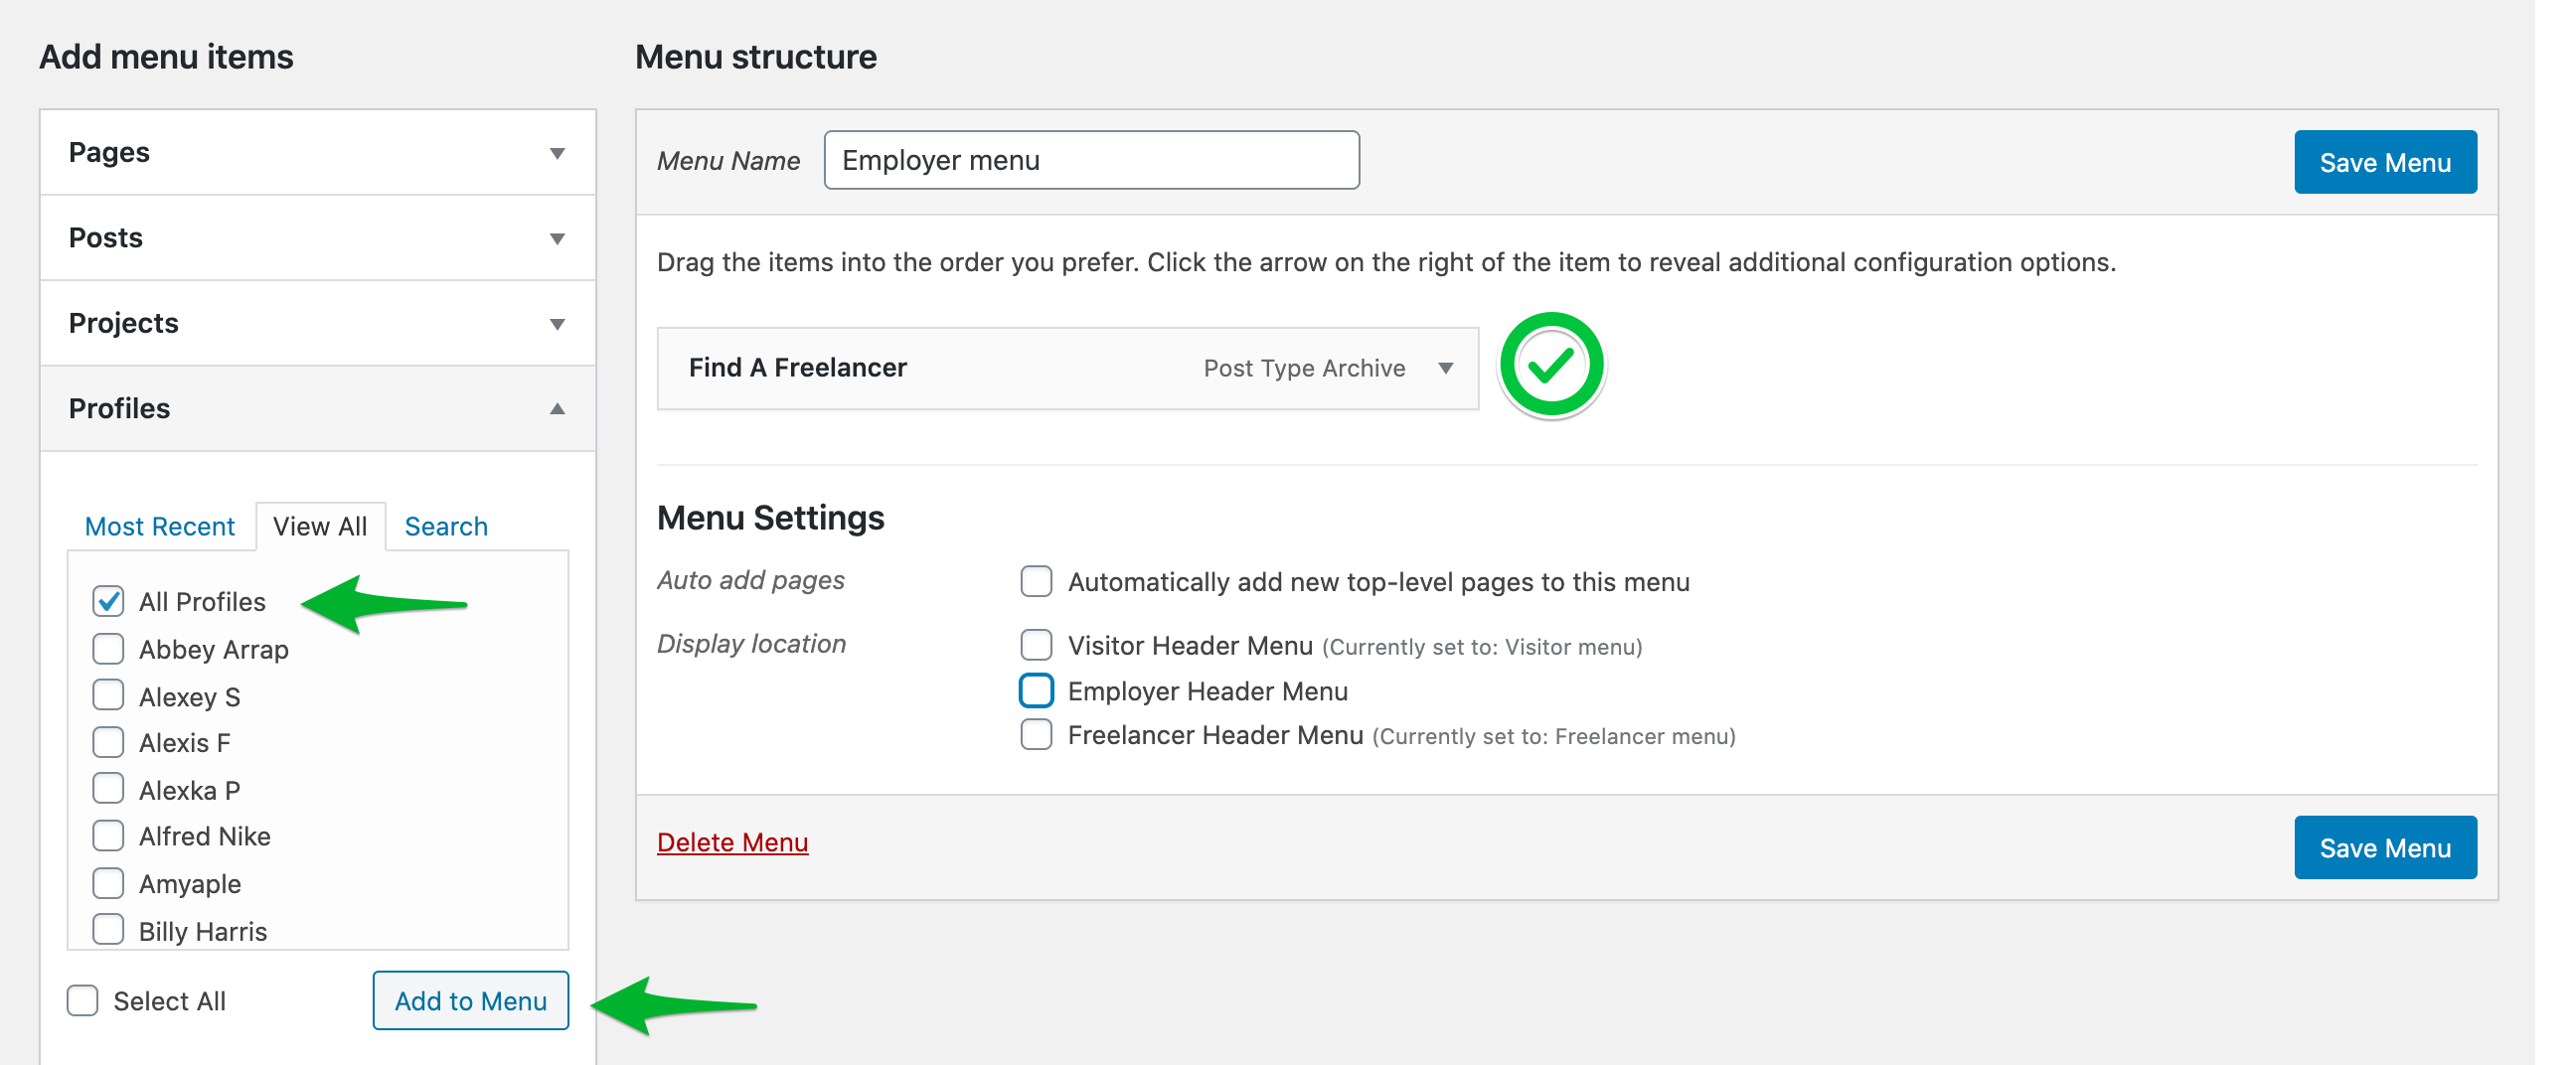
Tick the items you want to add to the menu from the left column, hit the button “Add to menu”, and you will see selected items appear on the right side, under the menu structure.
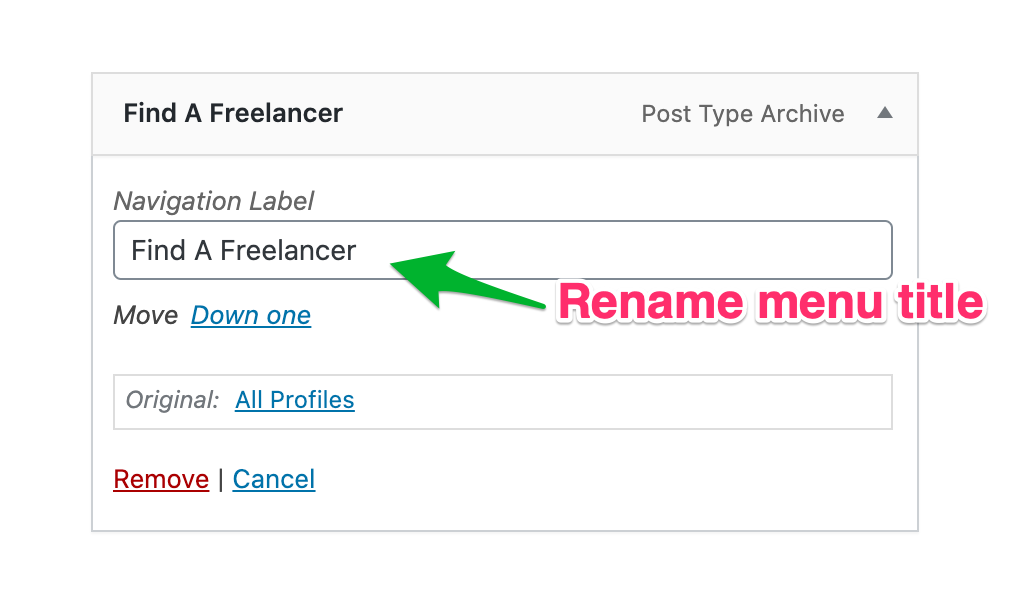
You can rename each added item by expanding that item and entering the new title under Navigation Label.
 In Menu settings, tick the location you want the menu to display. This is the option the allows you to set up different header menus for different three user types on your site: visitors, employers, or freelancers.

On the other hand, if you want to make a same menu for these three roles, tick all the three location options.
To finish creating a menu, click on “Save Menu” button.

As in the below illustration, to set up a header menu for Visitor, first you create the Visitor menu, then select items for the left column, tick the option Visitor Header Menu location, and finally save the menu.
Repeat the above steps to create header menus for visitors and freelancers.
Create Footer Menu in WPFreelance Theme
To create menus in footer, you’ll need two steps:
- Create menus in Appearance > Menus exactly the same as it is for the header menu.
- Go to Appearance > Widgets.
Drag and drop the Navigation Menu widget from the left column to the footer you want to add it to. At Select Menu, choose the menu you want to add, type in the title of the footer, and click “Save”.
If you want to add text in the column like the 4th column in demo, drag and drop the Text widget to Footer 4 and edit its title and content, then click “Save”.
A complete footer would look like this:

Leave A Comment?